Showing posts with label Hair. Show all posts

Friday, April 18, 2014

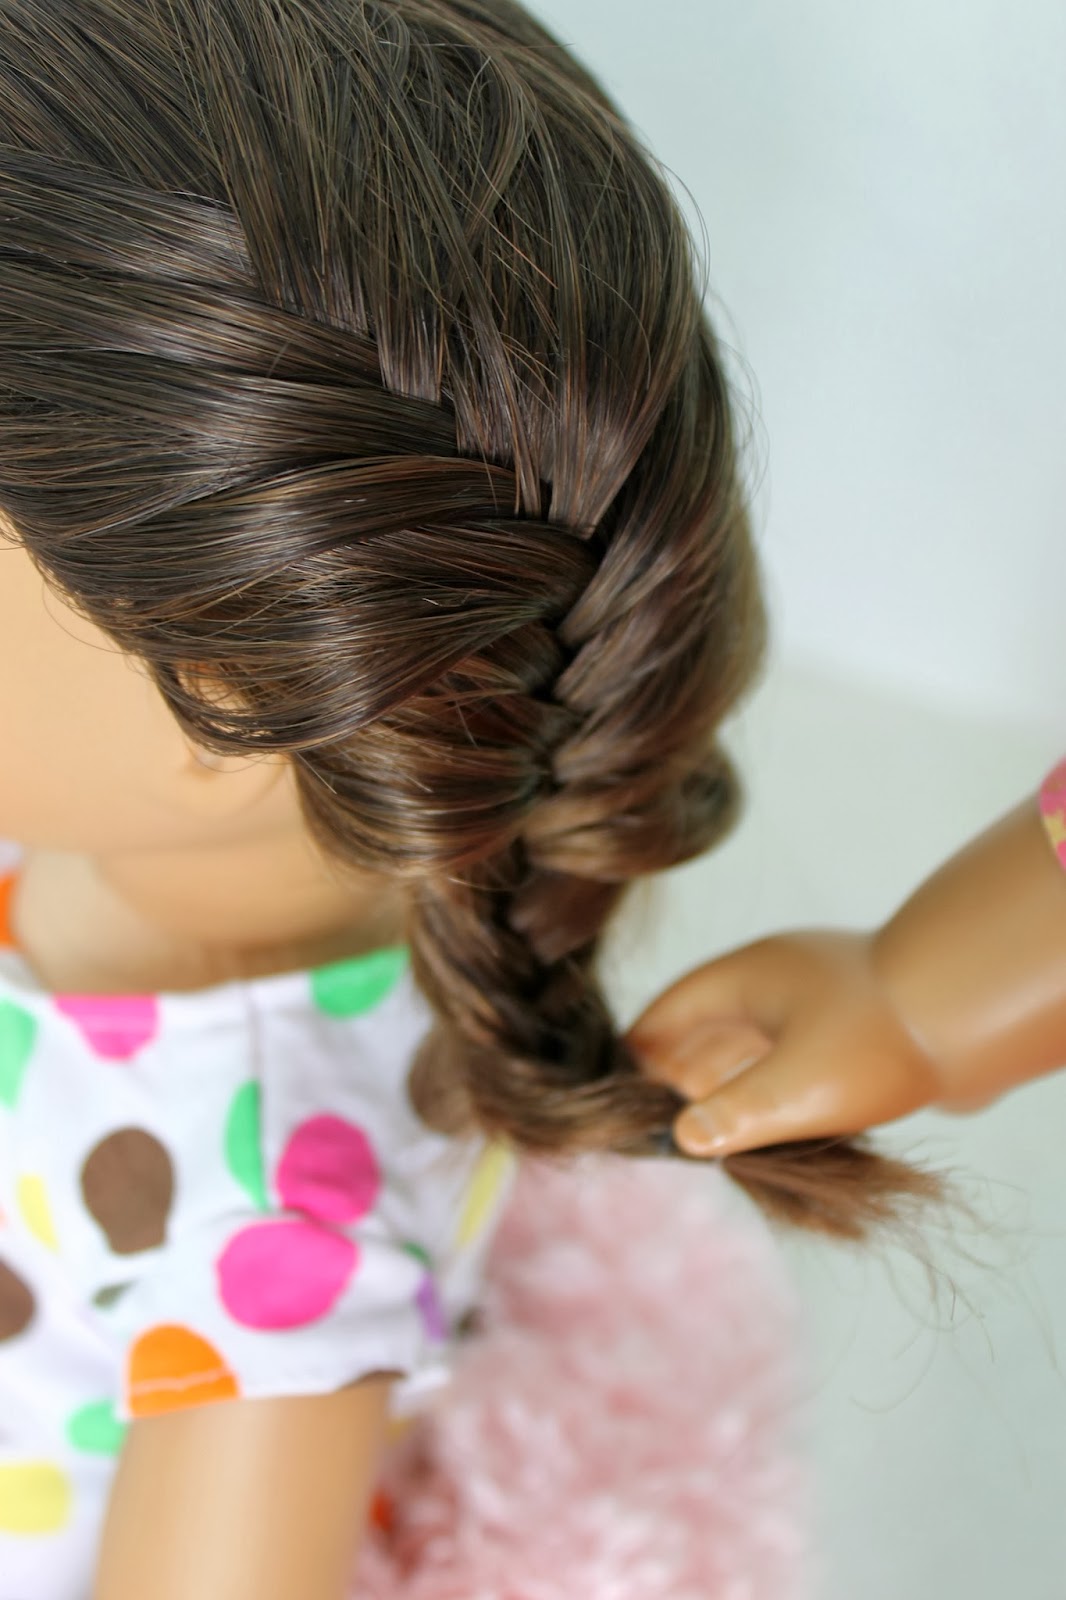
How to Dutch Braid

 Hello, lovely readers!  Chrissa and I have been very busy these last weeks, so I am glad to be able to post today.  As suggested in the title, I shall be teaching you how to a wrap-around Dutch braid.
 You will need:

  • A hairbrush
  • A hairband
  • And optionally, a squirt bottle.  (Whenever I do hair, the water from a squirt bottle helps hold the hair in place.)

Are you ready?  Let us begin.
 1. Take a small section of hair from either the right or the left.  In Chrissa's hair, I am starting on the right.
 2. Divide this section into three smaller sections.   In Dutch braiding, you cross the hair strands under instead of over, just so you know.
3. Take section one (S1), and cross it under section two (S2). 
 4. Pull section three (S3) under S1, as pictured above.  Now we will begin pulling little sections of hair into the braid.
5. Take a small bit of hair next to S2 and pull it along with S2 under S3.
 6. Continue to take small sections of hair as you braid under.
 7. When you reach the hair in the neck (or base) area, pull the braid up a little and ...
 ... continue to braid under.
 8. When you have no more hair to pull, just braid normally.
 9. Secure the braid with a hairband.
 10.  You are done!
Chrissa and I hope that you found this helpful!
Do you like Dutch braiding?

Monday, March 10, 2014

How to Fishtail Braid

 Hello, lovely readers!  We had several of you requested a fishtail braid tutorial, so since it was my turn to post (Chrissa and I do take turns- most of the time, at least) I decided to try!
 You will need ...

  • ... a hairbrush, ...
  • ... hair bands, ...
  • ... and optionally a misting bottle.  When your hair is slightly wet, it will hold a braid better.

Are you ready?  Let us start ...
 1. Brush out any tangles in the hair, lightly misting it with your squirt bottle.
 2. Split the hair down the middle.  If you are doing two fishtail braids, as I am, loosely put one side in a hairband.  Split the hair you are working on again.
 3. Starting on the left, take a small piece of hair and place it into the middle.
 4. Now pulling a strand from the right, make a cross with the two pieces.  (Note:  I only used the clip so you could see the hair clearly.)
5. Put a second hair from the left over the first one.
6. Pull a strand from the right over the first one.  Be careful to make sure that after each cross, you are only holding two sections of hair!
 7. Continue this all the way down the head, until you run out of hair.  Then, take a piece of hair from the section top and continue, ...
 8. ... until you reach the bottom, tying it off with a pony-tail holder.
 9. You're done if only doing one braid, but if you are doing two, then
10. Repeat steps 3-8 on the opposite side.

It is my hope that you found this understandable and helpful.
Do you like hair-styling?

Monday, February 3, 2014

Heart Braid Tutorial

 Hello, lovely readers!  Since it is quite rare that Chrissa or I do a hairstyle post, I thought that, for Valentine's day, I would show you a style my sister and I love ...
 ... the Heart Braid.
 You will need a...

  • ... hairbrush
  • ... squirt bottle (or some other means to lightly wet hair)
  • ... small clip
  • .. and a hairband.

1. Make sure your friend's hair is free of tangles, is parted down the middle, and lightly mist it.
 2. Take a tiny piece of hair near the back, and start to braid, taking small bits of hair from the left (or next to the scalp).
 3. When you approach her forehead, make a sharp turn and continue down her face-line.  Stop pulling hair into the braid a little bit above the ear.
 4. Proceed to braid normally.
5. Put a clip or a hairband on the end to ensure the braid does not unravel.
 6. Copy steps 2-5 on the opposite side.
 7. Gather both braids in clip/hairband.
8. You're done!  Enjoy! 
 How do you like to do your hair? 

Wednesday, May 1, 2013

Wrap Twist

Hello!  Today I am going to show you all how to do a wrap twist!  Now for you that get the American Girl magazine, this may look or sound familiar.  Chissa and I did not come up with this style.  However, in the American Girl magazine it is for long-haired girls.  We did this post partly to show you that it can be achieved in short hair, and partly because I added my own "Twist" to it.
You will need:
  •  Water Mister
  • A hairband
  • A hairbrush
  • Bobby Pin(s)
 Some of the following photos are from the May/June magazine.  They are the copyright of American Girl.
In our version, take a small strand from the side section and let it hang in front.


And there you have it!


Friday, March 22, 2013

Beach Braid

    Hey all! Chrissa here!  Spring break is almost upon us, so today I'm showing you how to do the Beach Braid.  Elizabeth likes this style because it's a great way to get your hair off your neck, especially if you do sports.  If my hair was long enough, I'm sure I would like this style too.

    First of all, the supplies you'll need:

  • Hair Brush
  • Water mister
  • Hairbands- You could use rubber bands, but in the water, these work better for active people
  • The knowledge of how to braid
 Brush her hair (its kind of hard to do anything with it if you don't).
Put it in a pony tail;

Don't be alarmed that Elizabeth's clothes just changed.  Begin to braid...

Finish it up with a ponytail holder...


 And there you have it!


Next time you go to the beach, try this out!